Through technological advancement, different promotional product printing methods are developed. 3D printing, offset printing, digital printing, and screen printing, to name a few. Different industries commonly use these techniques, yet screen printing is one of the most popular. Let’s discuss this printing method and why it is one of the top printing methods for branding merchandise.

What is Screen Printing?
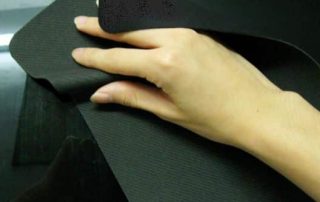
Screen printing is a printing technique that uses a woven mesh to support an ink-blocking stencil. This method is also known as serigraphy or silkscreen printing. It’s a trendy technique used in a whole range of different industries.
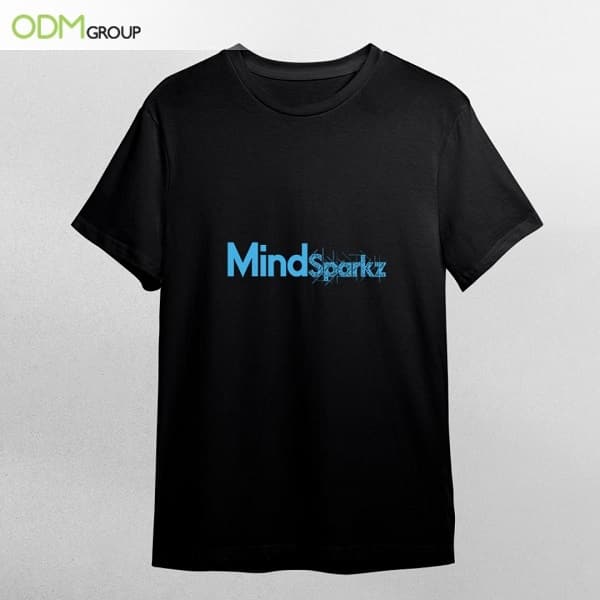
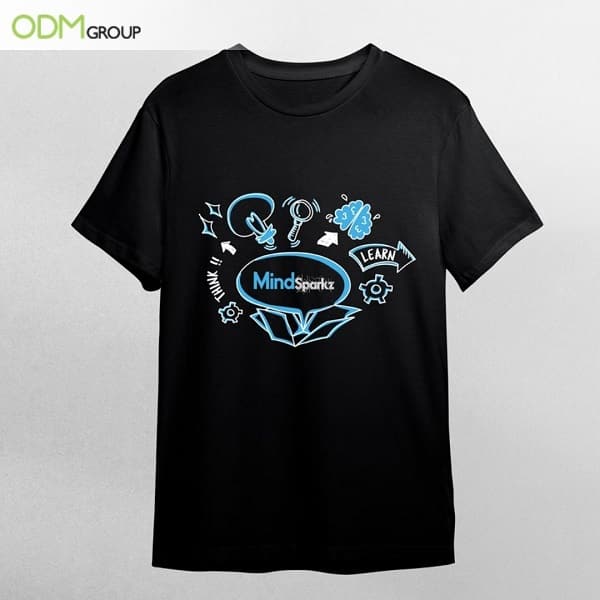
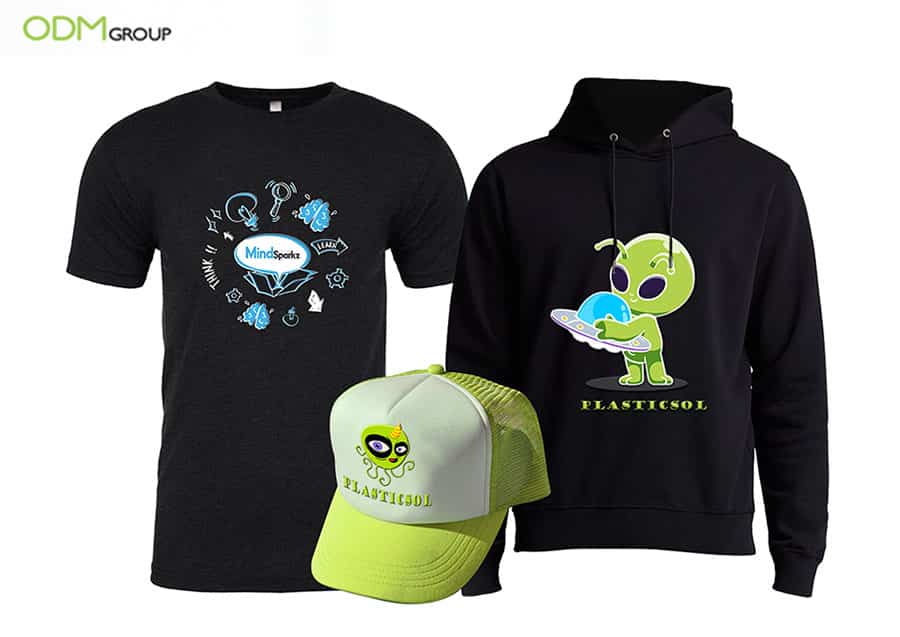
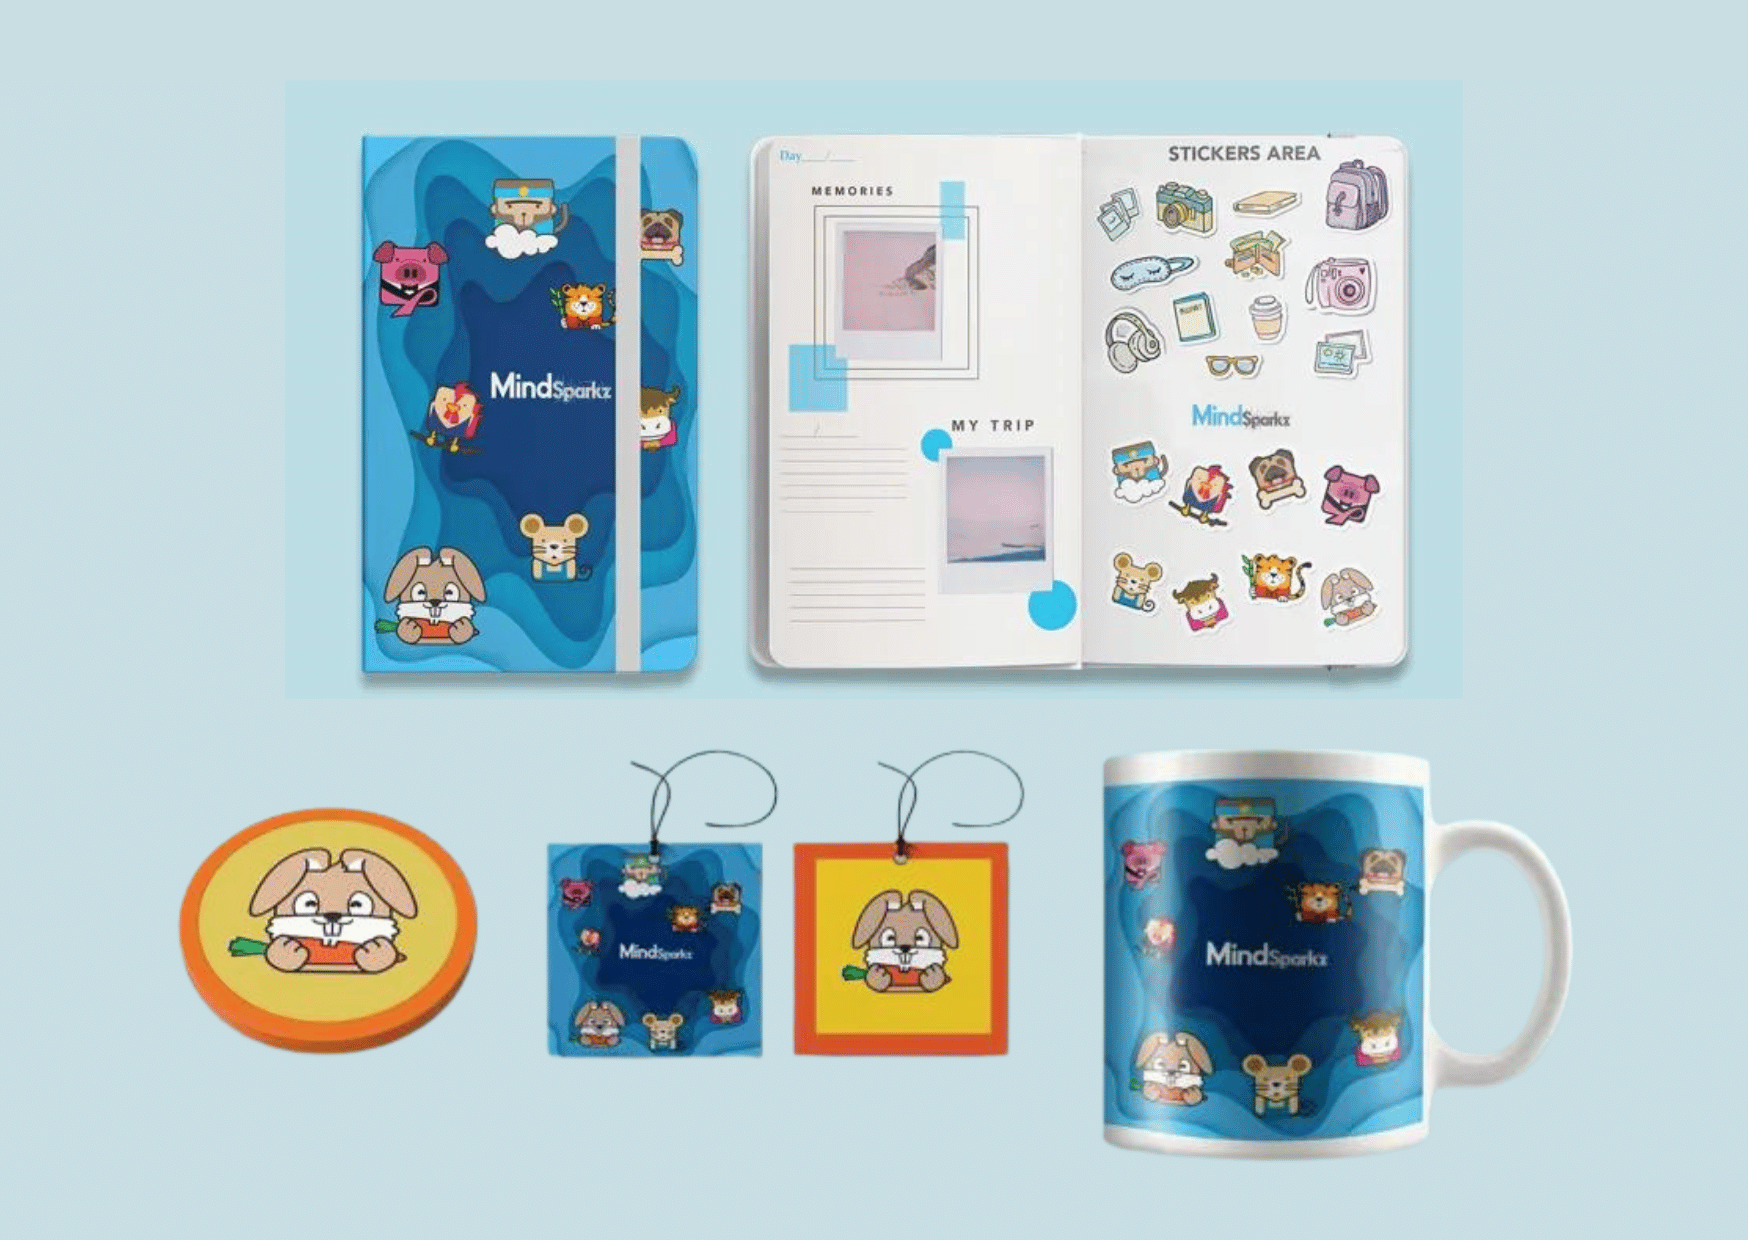
Furthermore, it is an effective technique for bold canvases, posters, and artwork, but it can also be used to print fabrics such as caps, umbrellas, and T-shirts. Moreover, it is also used for textiles like mugs and many other items that have relatively flat surfaces.
This decoration method is widely used because it produces vivid colours, even on darker mediums. Likewise, most brands prefer this technique as it allows the printer to quickly reproduce designs in multiple types. The same stencil used for previous items can be used again, making it ideal for mass production.
Screen Printing Method: A Step-by-Step Guide
As mentioned above, screen printing can be performed using various types of canvas, but the good thing is that they all involve the same basic technique. Thus, you don’t have to worry if you plan to use different products. You can still ensure the quality of every finished item. Let’s delve into and understand silkscreen printing procedures.
Step 1: Design Creation
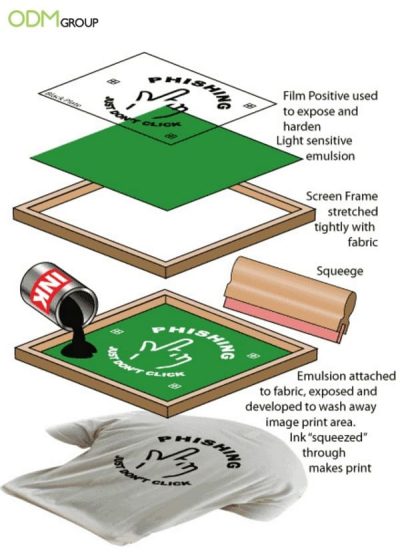
The very first step in the process of screen printing is creating the design. Once decided, the design will be printed onto the transparent acetate film. It will be then used to create the screen or stencil.
Step 2: Screen Preparation
Once the design is ready, the next step is to prepare the screen and mesh count.
When the design is all set, it is time to select the screen and mesh count. Mesh count refers to the total number of fibres in one square inch. The mesh count you need will depend on the design to be printed.
Afterwards, the mesh screen will be coated with a layer of light-reactive emulsion. It will be hardened when developed under bright light.
Step 3: Exposing the Emulsion
The transparent acetate film is placed on the emulsion-coated mesh screen under a bright light in the third step. The light hardens the emulsion; thus, the parts of the screen covered by the design remain in liquid form. It is very important to note that separate screens must be used when multiple colours are involved in the design.
Step 4: Washing the emulsion and stencil creation
Exposing the screen for a specific time caused the screen’s uncovered areas to harden. Any unhardened emulsion will be rinsed away. It will leave a clear imprint of the design on the screen for the ink to pass through.
The screen is then dried, and the printer will make necessary touch-ups or corrections to make the imprint as accurate as possible to the original design. Afterwards, the stencil is ready to be used.
Step 5: Items Printing
The material where the design will be printed will be then laid down flat on the printing board. The screen will be placed on top of the material. This can be done through a manual or automatic press, but most modern commercial printers use automatic rotary carousel printers.
Step 6: Ink Pressing
In this step, the screen is lowered down to the printing board. The desired ink colour is added to the top of the screen. A squeegee is will be used to pull the ink along the full length of the screen. This presses the ink through the open areas of the stencil, imprinting the design on the product underneath.
Once all items are printed and the stencil has served its purpose, the emulsion will be removed using a special washing liquid. The mesh will then be used to create new stencils.
Step 7: Products drying and checking
The printed items will be placed on a dryer to cure the ink. This is made to create a smooth and colourfast finish. The finished products will then undergo a meticulous quality control check. The purpose of the testing is to determine any need for corrective actions.
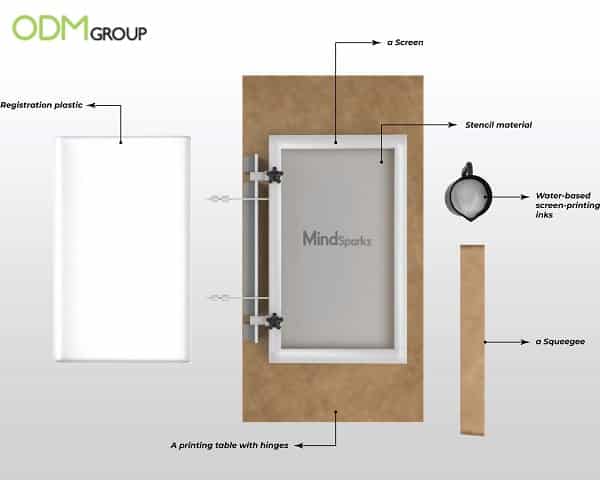
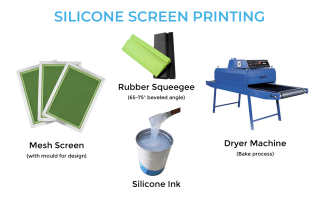
Screen Printing Materials
Here’s an actual video of how the screen printing method is done inside a factory:
Importance of Screen Printing Method for Branding
Whether you are a startup business or a renowned name in your own field and planning to create or renew your branding, utilising screen printing in your promotional items can help you achieve that goal.

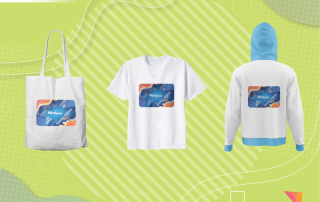
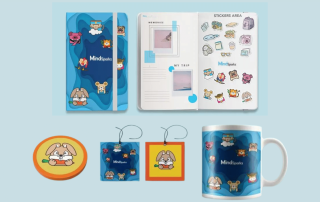
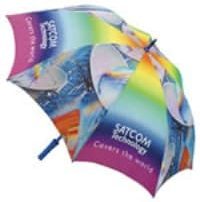
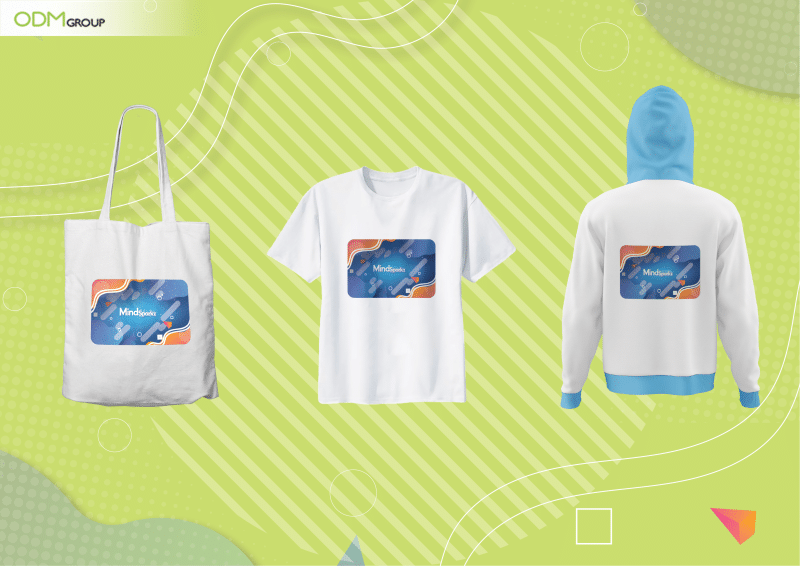
This printing method is very ideal for your marketing products such as your promotional t-shirts, customized mugs, and promotional apparel. But how can screen printing help your business?
-
Cost-Efficient & Yields Large Volumes
Screen printing is more cost-efficient than other printing methods since it can create large quantities of designs at a faster turnaround. Higher volumes of identical graphics can also be mass-produced using the screen printing process, making this the best printing option to use for larger orders.
-
Allows customization
Having custom printed products is more appealing and effective than having some ordinary photo or graphic. In addition, custom-designed promotional items are excellent ways to advertise your brand in the market or tradeshows/events. You can customize your company’s name or logo or each item, highlighting the product and services you offer.
-
Very Versatile
Screen printing is very applicable to various materials, such as vinyl, fabric, rigid plastic, foam board, metal and glass. Moreover, the printer can produce different branded promotional merchandise like banners, t-shirts, hats, posters and wallpapers using the same screens. The best thing about this method is that it can be done to any design and shape.
-
Straightforward process
The screen printing process is relatively straightforward, whether automated or done manually. Moreover, the tools needed for the printing process are also easy and accessible to replace.
Here are must-read articles about various printing methods:
Ever wonder what the difference between screen printing and heat transfer is? Here’s a blog to help you understand!
Reactive printing is another printing technique used for transferring designs to promotional items. It is called “reactive” printing because the ink reacts with the substrate when heated or steamed.
Sublimation printing has its own advantage and disadvantages. Read this article to get yourself familiar with this printing technique.
With the use of silicon pads, pad printing is a decoration method that can be used in promotional products that have cylindrical or hard-to-print shapes. Get to know more below!
Plastisol printing is a branding technique for fabric that uses the same materials and almost similar processes to screen printing but uses plastisol ink and plasticisers instead.
Final Thoughts,
It goes without saying that screen printing is one of the best options to consider to leverage your branding and promotion. Cost-effective, versatile, high-quality, and highly customisable, your business would greatly benefit from this printing method. The process is indeed simple, yet the finished works are always incredible!
Why Work with ODM?
ODM has more than a decade of experience in the sourcing industry. Since 2003, we have helped local and international companies produce promotional products for their marketing campaigns. Fron custom promotional giveaways, office merchandise, 3D printed promotional products, promotional sports merchandise to gift with purchase items and POS display units, ODM is here to provide all the marketing tools you need.
We have a lot in store for you! Connect with our team today to learn more about the products and services we offer!
See More Blogs Below:
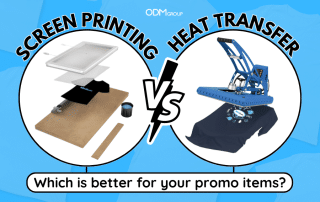
Screen Printing vs Heat Transfer: Which Method Works Better?
Screen printing vs heat transfer? Choosing between these methods [...]
From Flat to Fantastic: What is Lenticular Printing and How Does it Work?
Make fun and engaging prints with depth for your [...]
Supacolour Printing: The Ultimate Choice for Branding Success
The market is already saturated with established and booming [...]
What is Laser Engraving: Top 5 Interesting Facts to Know!
Printing methods play a crucial role in creating custom [...]

Plastisol Printing: Why It Is Preferable for Your Promotional Items?
If you're looking for another way of mass-producing vibrant [...]
Unleash Your Brand: 7 Key Benefits of Full Colour Printing!
When it comes to imprinting or customizing promotional products, [...]